
My final preparation for the new baby was a make over of our master bedroom. Eventually the boys will share a space but until he has reached an age that I’m not up every couple of hours nursing and he won’t disturb Reid’s slumber, he’ll crash with us.
You can find an article and an opinion on just about every aspect of a newborn’s sleeping arrangement. It constantly changes as well. From my personal experience, you should try out as many as you can to find what is a good fit for you and your family and what allows the best sleep for everyone. That includes my children and my husband. We had Hayden and Reid share a room when Reid was younger and ended up having to use the cry it out method for a period of time. Which didn’t allow Hayden to get a good nights rest, and it was at that point we gave them each their own room. I handled all the night feedings since I exclusively breastfed, and wanted a helper during the day that wasn’t also a zombie, so I’ve never asked Andy to stay up with me.
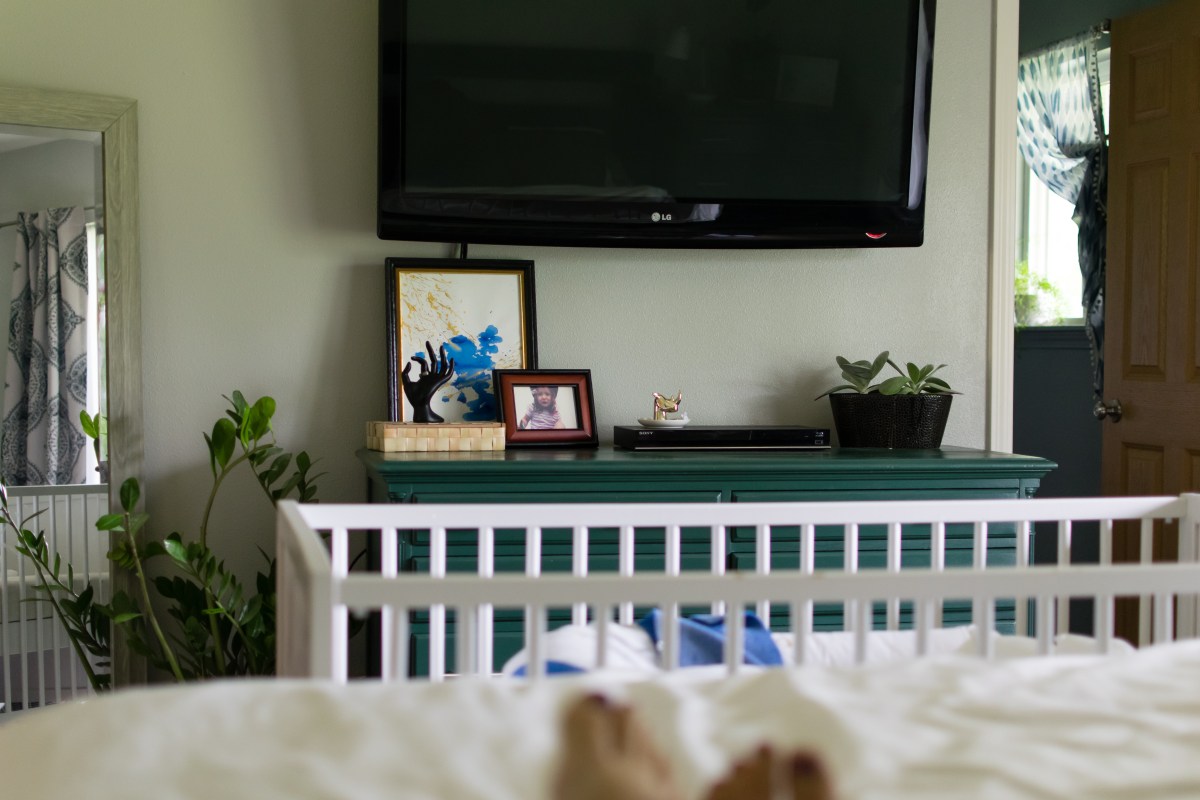
Which leads me to the following game plan. Each kid has their space apart from each other to sleep. We rearranged our room to accommodate the crib at the foot of our bed so that from the get go I’m not crashing on the couch or on the living floor by the baby swing and HOPEFULLY can begin crib training earlier than before, and I’m still able to nurse and sleep in the comforts of my own soft bed.

I have no qualms with co sleeping. I’ve done it with both my kids and the kids still like to crash with us when they can. I have always struggled laying that tiny, squishy baby to sleep with what seems like a huge crib and expect them to find that appealing. It wasn’t until 6 months or later that we began crib training and while it’s always worked out in the long run, I did some more research this time about other options. Enter the Dockatot. I stumbled upon a blogger that shared her stories of how they crib trained their infant daughter using the Dockatot. They used it inside the crib to get her used to sleeping in her crib at an earlier age so that once she outgrew the Dockatot they were able to simply transition her to the crib without it and it wasn’t such a drastic change. It worked for them very successfully and fingers crossed it’s the result I can achieve as well.


The “latest study” shows that co sharing a sleep space (not co sleeping) significantly reduces the risk of SIDS. Which honestly wasn’t my motivation for this setup but it does make it more reassuring. Reid was such a finicky sleeper and a cranky baby in general and I really struggled to find a routine that worked with him. I floundered for what seemed like months so I really made an effort to have a solid plan of action for this next guy. Reid wanted to be held and snuggled and slept in my arms day and night. So apart from crib training, this product seemed like it could help me not have an infant that is a stage 5 clinger when it comes to sleeping.
I wanted to create a space for us that not only gave Andy and I an updated bedroom (it was the last space in the house to get any type of attention or renovation) but create an atmosphere that was calm and quiet for us to sleep in each night with the baby and make night-time something I didn’t completely dread.
It’s not a proper makeover since I don’t have before pictures but most of you know me personally so knew what the bedroom was before. For those that don’t, we previously had a white room with a dark blue painted wall behind our bed. We had a large wooden canopy style frame for our bed and our dressers were dark cherry wood with gold hardware.
The room got a fresh coat of paint and new window dressings. We used to have a large wood bed frame that Andy had built when he first moved into his first apartment. The kids loved it. It was the perfect frame to climb and build forts and of course it was a work of art created by Andy himself. My major complaint (because yes, it was only me that complained about it 🙂 ) was that it was tall and bulky and was very hard for me to get in and out of it. It was a steep fall when the kids fell off, and what kid doesn’t eventually fall out of the bed from time to time. And it was tall enough that I wouldn’t have been able to easily grab the baby from the crib, it would have required me to get out and go around. Which defeated the purpose. Andy is a saint and agreed to nix the old bed he had proudly worked so hard on and built a new bed that beautifully met the needs of my checklist.
The dressers and night stand got sanded, painted and new hardware. More plant babies OF COURSE and some new artwork hung up. I’m lucky to have a pretty cute artist in our house that always gives me good deals on her pieces. Details like an oil diffuser and different lamps for softer light were on my checklist for making it more baby friendly. I set up a bedside basket with what I need for late night diaper changes and in general have kept things relatively minimalist knowing that it’s easy to become overwhelmed with the chaos of a newborn and hopefully a calming space would remedy that.


That pot cover was a really easy and fun DIY. Instead of buying a new planter, I took two pre cut fat quarters of fabric and sewed them together to make a cover that simply slid on the existing pot. Now I can change out the cover whenever I feel like something different and it’s just a matter of a few stitches with some new fabric pieces.

The best perk of all of this? Having our own bathroom and television in our room means it’s even easier for me to stay hidden in the back of the house. Hayden is already trained on making me coffee and Reid is really good about bringing me snacks so really I don’t have much reason to leave this room at all! It’s a win all around. I mean other than having other children to tend to, but they are both pretty independent and our smoke alarms work great, so I feel like we are covered there.
I had a rather clear vision for this room and am so happy with how it’s coming along. The final touch will be that adorable little baby sleeping soundly in his new crib. A mama can dream anyway..
